4 Steps To Creating An Amazing Client Experience

You guys!!
I'm so excited to share this video chat I had with my bud Megan from The Busy Bee!
Megan is a Squarespace and brand designer I met last year when looking for designers to partner up with on projects. I instantly connected with her because we share a lot of the same values in our businesses - things like education, making design easy for our clients, great communication, not taking work too seriously and delivering an amazing design experience.
Which brings me to today's post!
Something that Megan and I are both guilty of is not making client experience one of our top priorities from day one.
I mean, when you're learning how to run a business and figure out your own unique process it feels like you've already got so much on your plate. If that's you, we totally get it!
But here's the thing: we both know first hand how much client experience can change the game for your business.
So we're here to show you 4 steps you can take to create an amazing experience for your clients, plus a couple of bonus tips for you at the end of the video! (Scroll below video for our tips + quick jumps!)
And before we start...
I've created a special 3-part bundle to help you implement everything we chat about in the video! You'll get:
My 10 step process roadmap to help you map out your design process
A checklist of 15 easy things you can sprinkle into your process to elevate your client experience
And 4 canned emails you can customize to make sure you sound professional and prepared when talking to clients!


Process pointers from the video (with timestamps):
0:30 Download the bundle I made to go along with the video! Get clear on how you work through your design projects with my 10 step roadmap, 15 ways you can sprinkle in things that make your clients fall in love with you + canned emails you can customize for 4 very important client-facing situations (new inquiry, welcome email, payment reminder + what to say if a client is late on their payment!)
2:13 Meet my bud Megan who’s helping me deliver this mini-training today (find out what Megan’s 4th favorite holiday is at 3:15 😂)
4:43 Focusing on client experience is a surefire way to stabilize your income. It helps you book more ongoing work + referrals! Hear Megan’s amazing story about this at 5:28 if you're not sure how this can help your business. It's goals!
7:56 What to do if you hate marketing your business (like me)
8:51 Step 1: Get organized on your end and map out your workflow
9:05 Think about your projects in stages, like “prep", “strategy", “design", “refine" and “launch”
Prep: this is everything that happens before a client books
Strategy: this is where you assess your clients goals/needs and come up with a game plan
Design: this is where you implement the plan you came up with
Refine: this is where you work with your client to mold the finish product
Launch: this includes any task that needs to happen between final approval of design to launch to goodbye, sweet client!
Prep stage tips:
11:56 Use an online scheduler to help reduce back-and-forth emails. Your leads/clients can pick a time that’s convenient for them and its less emails in your inbox! (Squarespace and Acuity have an integration if you wanna hear about it at 11:13)
12:20 Get your leads on the phone! Figure out their needs, let them ask questions, talk about your process and go over your calendar and payment schedule. These phone meetings shouldn’t take up too much of your time, 30 minutes tops! Megan and I both believe in discussing project costs during this initial phone call and like to send a recap email afterwards with next steps (and a reminder about our process and next availability).
13:15 Grab a deposit from your leads before you begin any work or commit them to a project slot in your calendar!
14:18 Consider putting a timeline on your estimates to inspire a sense of urgency in your clients. This also frees up your calendar in case someone else comes along and wants to book (I used to do a 30 day timeline but now I only do 7)
Strategy tips:
15:50 Megan and I both like to start our projects off with a kick-off email (I give you my exact welcome email in the download bundle below!). This email should give your clients their next steps (like collecting website content or client homework) and I also like to remind clients of studio hours so they know when the best times to get a hold of me are.
16:40 Consider sending clients a website copy checklist to help them with their website copy! Include things that go on all the standard pages (like about, contact, services) along with tips on how to get testimonials. This is something that can help you get their website content on time :)
18:12 Set up a portal or project management tool for your clients that lays out all the details of the project and houses copies of important project documents like the project's contract, invoice, Dropbox folder, etc.
19:55 Touch in frequently and make sure your clients know how excited you are about their project!
20:40 I love having a formal brainstorm/strategy sesh with my clients at the beginning of their project to go over site goals, come up with a content game plan and to talk about our strategy (where I ask things like, "What are your goals and how can we accomplish them through your website?").
20:48 I started writing copy for my website clients earlier this year and its been a game changer! Its so easy: send a website content doc with prompts for each page, have client answer then turn those answers into copy. I use a “master template” then duplicate it and customize to the client each time. More info on this in the next week!

Design tips:
21:42 To speed up your design process, consider doing a little bit of the site design while your client is collecting their copy and/or images for the site. You can do things like set up their branding, navigation, header/footer, social accounts, domain, etc. Then when content comes in, you just plug it in and finish styling pages!
22:44 Megan and I are both big fans of building out full, live sites for clients! We mostly design on Squarespace which makes this super easy, and we like doing it this way because it creates a more cohesive finished product. When designing something on one page, it might influence a design element found on another page, so we encourage you to try building live sites for your clients if you haven't yet!
24:00 Here's a bonus branding tip for you (and reinforcement for why one, fully fleshed concept is the way to go): During our chat Megan brought up the "one logo concept" I introduced to her when we worked on a client project earlier this year...
With this approach, you present a full fleshed out concept which allows clients to more easily imagine the full finished version.
Its one complete vision and your client can understand the final product better, which results in less refinement! You end up having less edits because you're not asking clients to fill in any holes!
The genius who showed me this approach is Jamie of Spruce Rd! Go to 25:37 if you want a quick breakdown of how this works + more info on why it's so awesome! And definitely sign up for Jamie's email list because she has a course that launches a couple times a year that teaches you exactly how to do this, and she is genuinely 1 of like 2 or 3 people I actually enjoy hearing from in my inbox. Do it!
Refinement stage tips:
27:15 A big part of the refinement stage is nailing your project presentation. Make sure to go in-depth about your design decisions (like why you placed things a certain way and why it makes sense from a design or site visitor point-of-view).
27:48 Avoid letting your clients become art director of the project. Remember, this is YOUR wheelhouse and you got this! 💪🏽
28:08 So make sure you show your clients how trustworthy and professional you are!
Project wrap up tips:
29:00 Consider doing a launch week like Megan does (genius)! It's less stressful and helps you spread out tasks over a week instead of one day.
29:45 We both like to offer client trainings at the end of our projects. You can do this on Google Hangout or Zoom, where you record your screen and conversation while showing your clients how to manage and update their site. So like a website orientation that your clients can refer back to if they have questions down the road.
30:45 Always make sure to ask for a testimonial from your clients!
Ideas to help you elevate your client experience:
31:10 Once you have your project workflow mapped out, it's time to sprinkle in special things for your clients that help elevate their experience! Little surprises that show your excitement (I've got 15 ideas for you in the checklist - sign up for it below!)
31:53 One way to do this is through client gifts! You can build this cost into your project cost 🙂
32:06 A cute thing that Megan does is send her clients a virtual Starbucks gift card to help with their client homework. Building a website is a very big and exciting thing for your client, but we all know the prep work is no joke! Sending a little energizer or a pick-me-up is such a sweet and thoughtful way to let clients know you’re supporting and thinking about them.
33:35 Sending client gifts at the beginning of a project can help you start out on the right foot and shows just how organized and on top of things you are.
34:28 You can also send a wrap up gift at the end of your projects. Megan uses a company called Box Fox for clients but has also used Greetabl* to send surprise boxes to friends. These are pre-curated boxes that make giving client gifts so easy! Box Fox takes care of packaging + shipping for you and even handwrites a message for you on one of their cute cards! WHAT!
And guess what!? Megan sent me Box Fox after we recorded our video!! JUST LOOK AT IT!!
I can tell you firsthand how great and surprising it is to get one of these babies. So thoughtful and geez, whatta freaking sweetheart. You guys Megan is the best! Your clients are gonna love them!
*This is Megan's affiliate link which means she may earn a small commission if you click through the link and make a purchase!
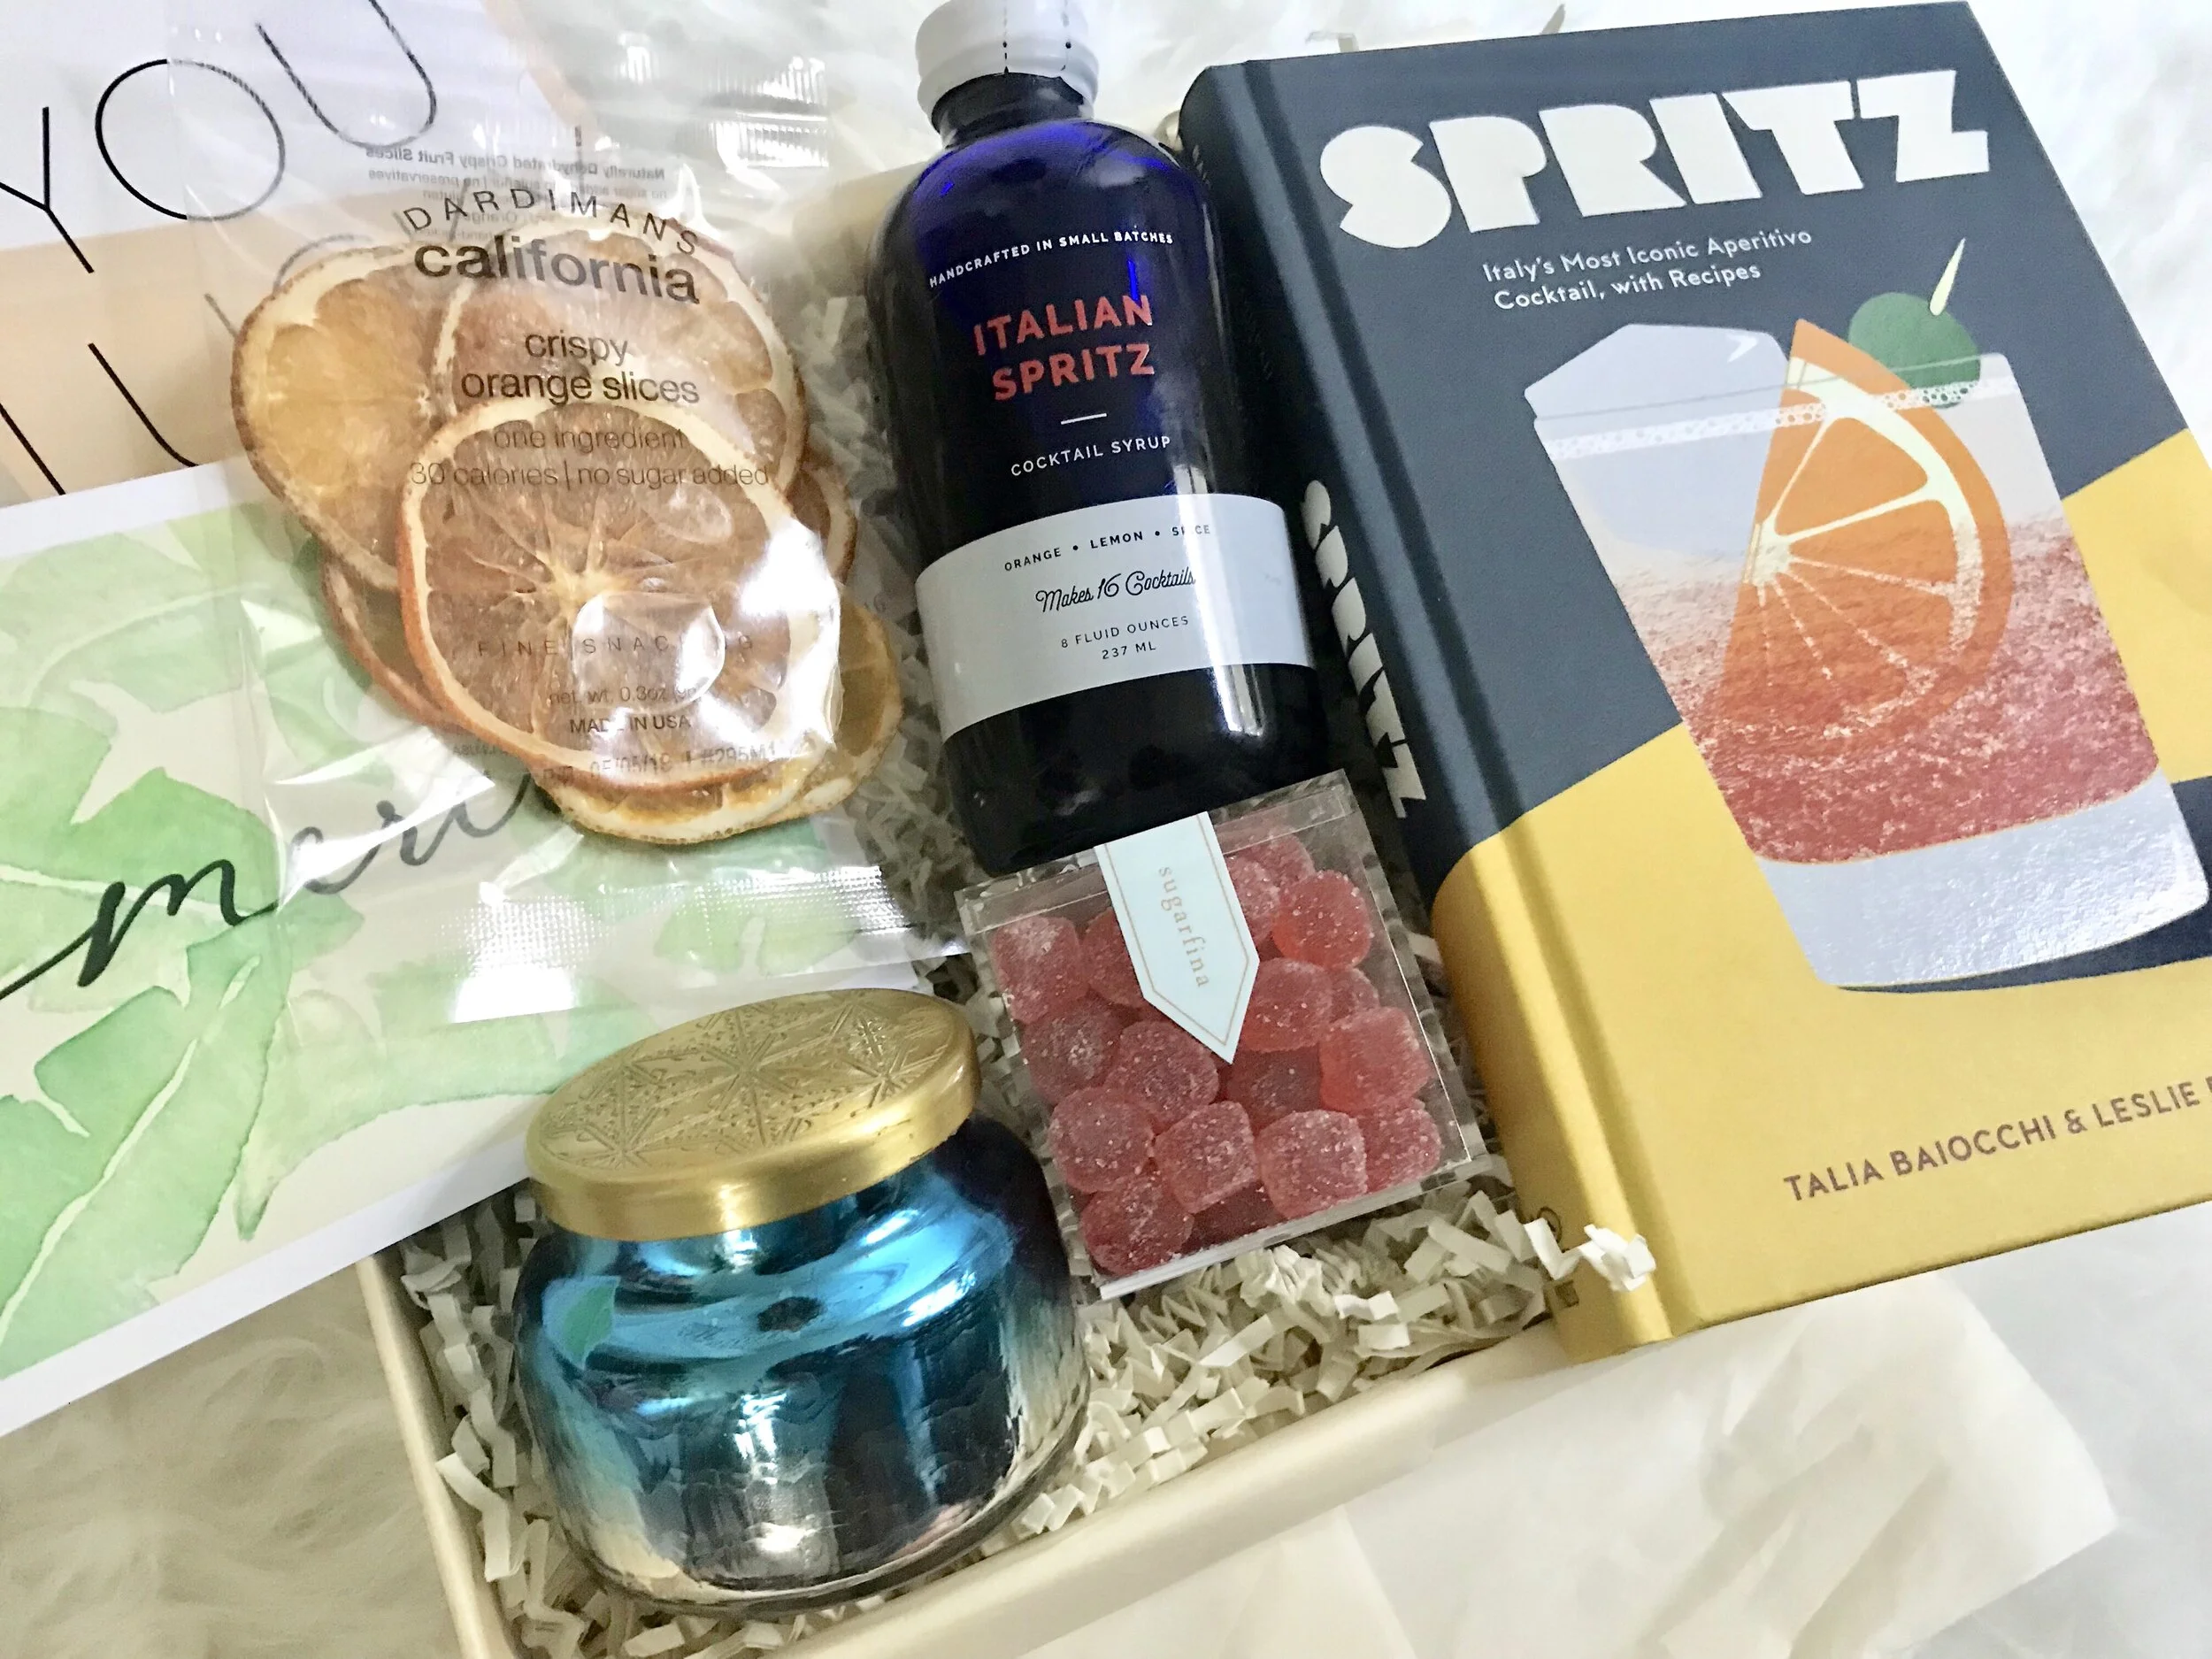

(She probably got me the cocktail box because I'm always telling her it's time to take a shot of tequila 💃🏻🎉🙃). **UPDATE: IT HAS BEEN CONFIRMED THAT THIS IS THE REASON WHY 😂**
38:07 You can surprise your clients in non-monetary ways, too! Consider doing mini business or marketing consults with them! CLIENTS LOVE THIS STUFF! Plus it helps position you as an expert and makes your client feel like you care about their whole business, not just the design part! Its gonna make your clients feel like you're so invested in them and really amps up the trust factor like whoa!
40:28 You can create a special resource page just for clients! Have it pre-made on your site so they have easy access anytime they need it down the road.
40:40 Don't forget that clients will mostly likely love to use an affiliate link for a tool or service that you recommend. My clients specifically ask about affiliate links because they want to give me kickback for my recommendations! Don't be afraid to talk about affiliate links if its genuinely going to bring value to your client :)
How to create a consistent process with templates:
42:53 Create a CONSISTENT process in your business by using templates. The end goal is to create something repeatable that can be done over and over again with minimal thought/time/energy.
43:34 Templates help you manage client expectations!
43:58 Templates help you feel more prepared and organized (which will show through to your clients)!
44:40 Trello* is a great (FREE!) tool you can use to create a “template vault”. You can use it to organize your canned emails, workflow, etc. (Megan mentions a great course you can purchase called Trello For Business - I personally know a ton of business owners who've gone through the course and say it's been a game changer for their business systems!)
*This is Megan's affiliate link which means she may earn a small commission if you click through the link and make a purchase!
45:25 Jump to this point to see exactly how Megan sets up her website workflow inside of Trello. For your own workflow, be as detailed as possible and remember: new tasks will come up even after you nail down your process. You’ll always be refining and making your process better with each new project you take on!
45:53 Pro tip for all my Type A homies out there: Add tasks to your workflow that are easy to implement/check off - nothing is too small or too obvious to add, plus you’ll feel like the most productive human being in the world!
46:35 Be sure to think about and include as many client-facing tasks as possible so you can create a consistent experience from one project to the next! What if one client refers a project and raves all about the sweet gift card they got for client homework, but you forget to do it for the person they referred in? You'll look like a jerk - don't do it!
47:33 Canned emails are a lifesaver. You can have them saved ahead of time so it only takes you a couple of minutes to customize and send out.
48:54 Actually writing your tasks on pen and paper can help you make sense of your process + map out your workflows. It can really help you remember everything and have it become more automatic.
49:40 You can also use a tool like Dubsado to house all of your canned emails - they have smart fields to auto-fill things like your client's name, payment amount, invoice date, payment date, etc.
50:24 You can use Dubsado to create document templates too (things like proposals, contracts, invoices, lead capture forms, project presentations, feedback forms and more!)
50:50 Dubsado lets you create everything up front - you can seriously cut down hours and hours of work with an easy tool like this! (PS - my program launching next month shows you exactly how I use Dubsado in my web design business. Inside of the program I'll walk you through setting Dubsado up for your business and give you all of my canned email and project templates - ALL 30+ OF THEM!)
Use a client portal or project management tool to keep your clients and projects on schedule:
53:22 This is important because keeping projects on schedule creates a better client experience. You aren’t nagging clients and no one's falling behind on tasks. You appear more organized and professional!
53:35 Remember that while you understand the web design process, this is your client's first time going through your process. You need to lay everything out for them so they better understand how it all works together and what they need to contribute to the project.
54:12 In Asana (a free tool) you can assign tasks to your clients with due dates + times.
55:25 Asana will send email notifications to your clients to let them know if they have a task due, and notify them if they have anything past due. That's right Asana does the dirty work for you!
56:00 With Asana your clients can easily see how all the tiny tasks fit together, check out the progress of the project, see what’s coming up on the horizon and see if they missed a task.
56:09 If you’re reluctant to ask your clients to learn a new tool (like I used to be), consider this: why wouldn’t someone do something if you’re explaining the importance of it to their project? Think about it: wouldn't you listen to the professional you hired if they told you a special tool or step was needed in order to have a better-finished product? If you're on the fence like I was, be sure to let your clients know why it’s so important and it shouldn’t be a problem.
57:32 If you don't want to use a project management tool like me - Megan does a similar thing on a hidden page of her site!
58:03 On the backend of your site, create a client portal template page that you can duplicate for each new project. Megan makes her's password-protected with her client's name so that it stays private and is easy for everyone to remember ☺️ The portal lays out the project schedule, payment schedule, when things are due, links to important documents and folders, and shows what stage the project's at.
1:00:20 Megan’s clients love this because it’s on-brand to Megan's studio and it feels customized to them!
1:00:40 You can also leave a direct way for your clients to contact you inside of their portal. Leave something like your email address, a contact form or a link to your online scheduler.
1:00:53 You can give instructions for how to use your project management tool or client portal in your kick-off email 🎉
1:01:55 Remember that how one person does something is not a reflection on how you need to do things! We just wanna show you how we do it so you have a starting point 🙂
Bonus tips!
1:02:32 Make sure you showcase your process! Talking about it is how people will get to know you, and it's a way to weed out clients who won’t be a good fit for how you do things.
Places you can showcase your process: talk about it on social media or a blog post, create a case study, put it in your service guide and website, and talk about it in your discovery calls.
1:03:14 If you can help someone imagine themselves working with you then they’ll be that much more likely to book!
1:03:48 DEFINITELY GO OVER YOUR PROCESS DURING THE DISCOVERY CALL! This is an opportunity to explain what your client should expect (managing expectations on the front end will save you) and allows your potential client to ask questions.
1:04:48 Jump to this point in the video where I explain why the discovery call is a great way to qualify your leads and weed out bad-fit clients.
1:05:25 You can use questions from your discovery calls to refine how you present your process and as talking points in your marketing.
1:05:51 Refine along the way and be confident in yourself!
1:06:04 Creating a process for your projects is a process in itself! You plan, prepare, implement then refine! Its just part of it, and if you need to tweak something along the way its NBD.
1:06:35 Adapting your process as you go means you’re making each new project even better than the one before.
1:07:03 It's super important to continue to refine your process no matter what stage of business you’re at.
1:08:00 Don't compare where you’re at with someone who’s been in the game a little bit longer than you. It's unfair to compare yourself this way because you never know what’s going on in the background of someone's business.
1:08:30 When you’re an entrepreneur or freelancer, you can think of the ideas you implement as research.
1:09:10 Megan and I have both found that being willing to experiment brings about more confidence.
1:09:16 When something “fails”, it’s actually just an opportunity to get more information. You can use that information to start forming parameters and boundaries around your services.
1:09:40 "Vulnerability is the strongest measure of courage there is! It’s about showing up and being seen without being able to know the outcome" (This is a quote that Megan shares by Brene Brown)
1:10:05 It's so important to get together with other business owners and talk about your business and process! We really want new business owners and freelance designers to remember that anything you’re experiencing right now is something other people have gone through and figured out before, which means you can too!
1:10:29 There's so much confidence that comes about from putting yourself out there and doing the hard work.